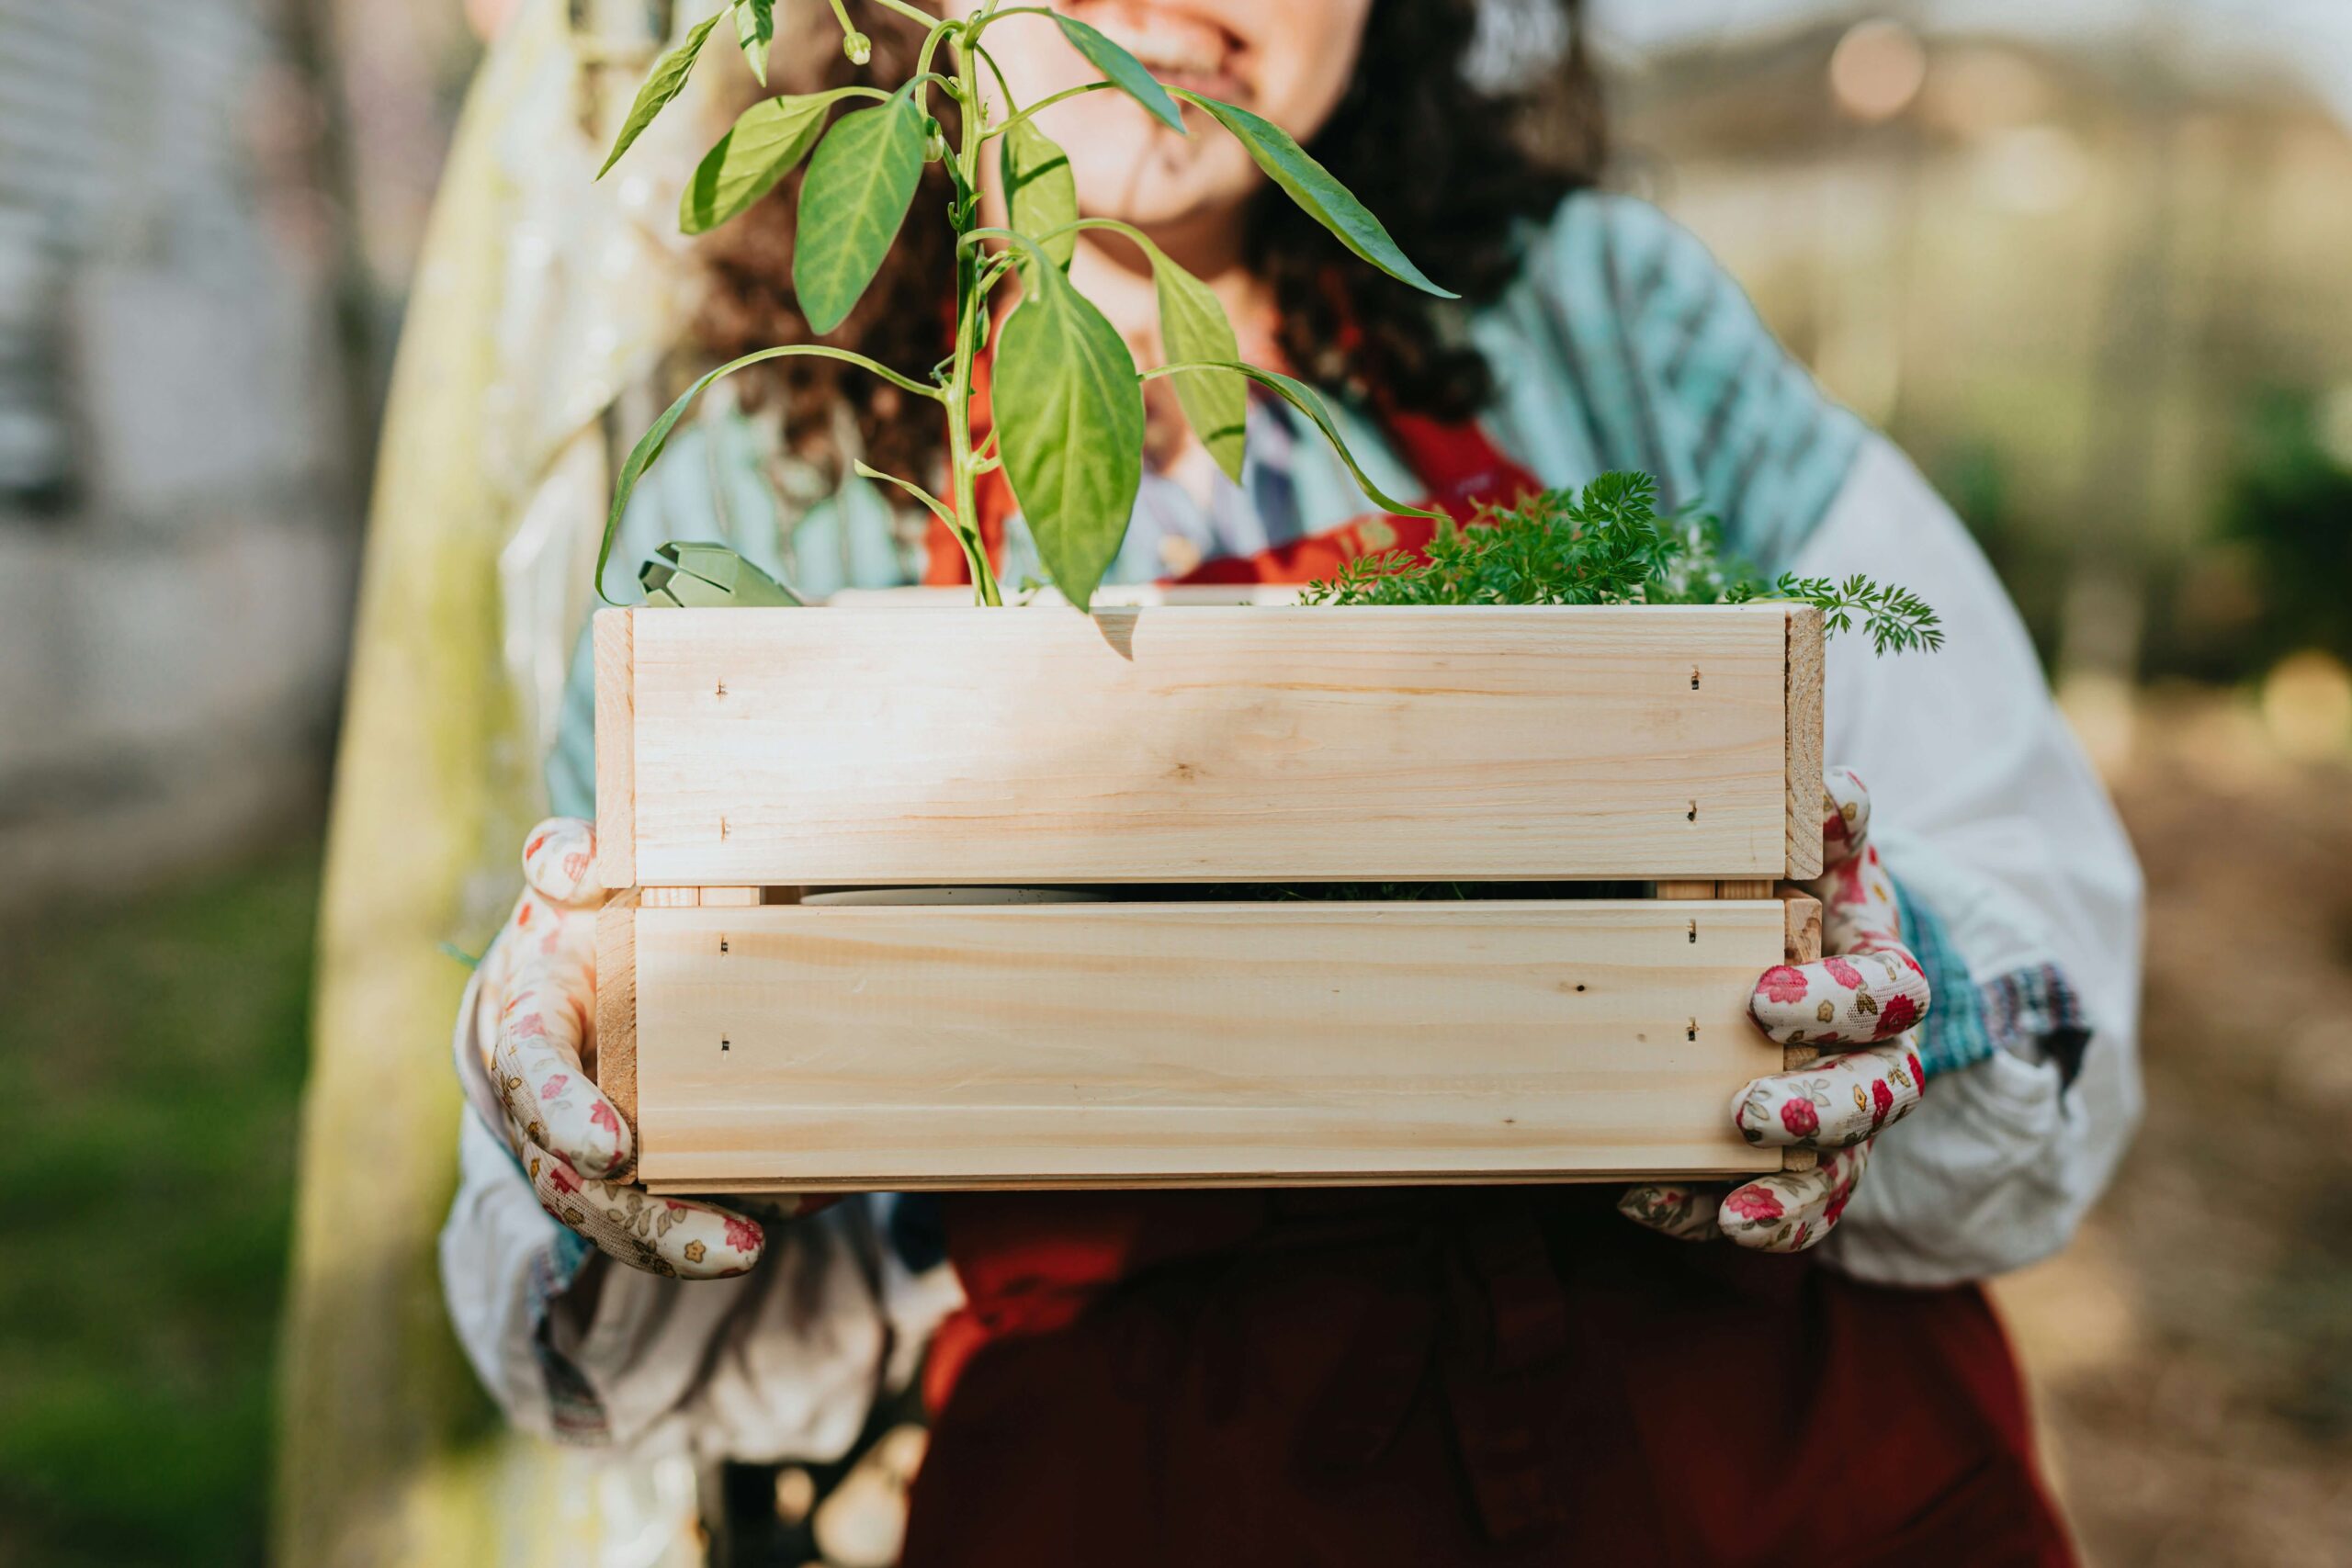
DIY Planter Box: How to Build One for Your Porch
Why Every Porch Needs a Handmade Planter Box
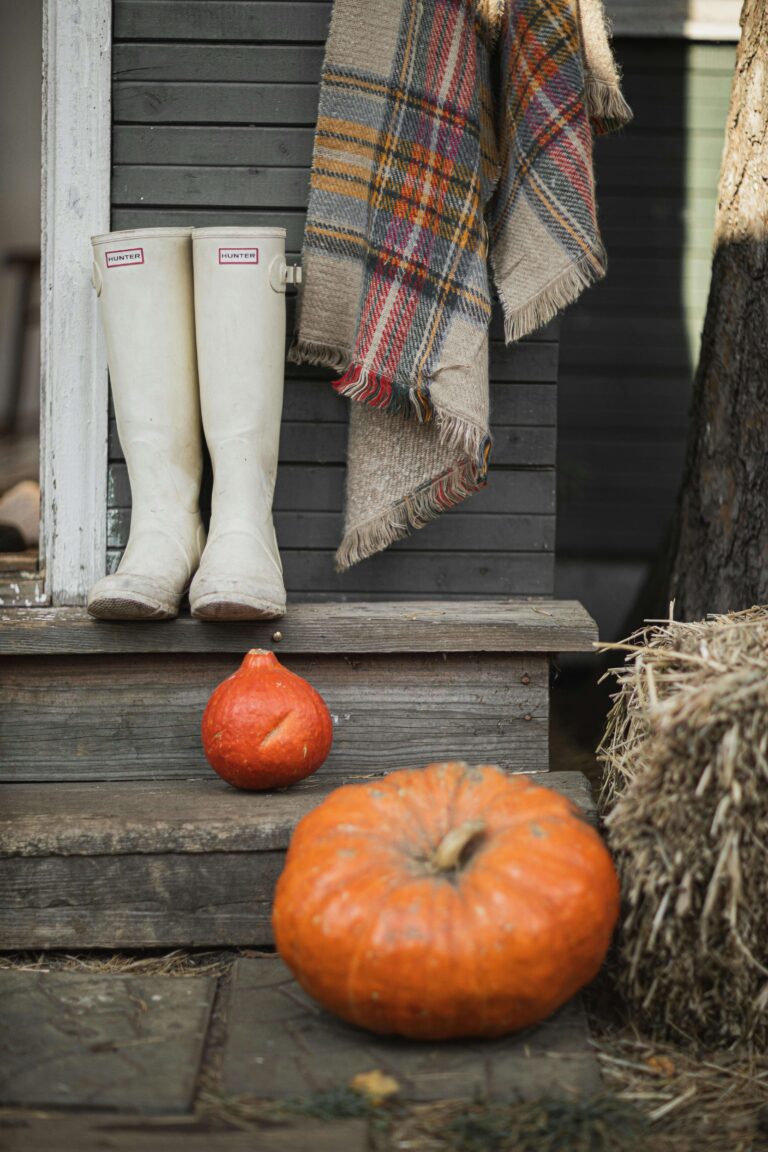
There’s something about a handmade touch that instantly warms up a space, especially in New England, where porches are as much about gathering as they are about gardening. A DIY planter box isn’t just about saving money. It’s about creating something that feels like home, with your own two hands.
What’s the Best Wood for a DIY Planter Box?
Not all wood is created equal, especially when it’s living outside on your porch. You want something sturdy and weather-resistant that still fits that charming, homey look.
Here are the top picks:
- Cedar is the classic choice. It’s naturally rot-resistant, has a beautiful grain, and smells amazing while being worked with. It also ages gracefully into a silvery patina—perfect if you’re going for that New England weathered porch look.
- Pine: A budget-friendly option that’s easy to find and work with. It’s not as naturally durable as cedar, so it’ll need a good coat of outdoor-safe paint or sealant—but it takes color beautifully if you want something like colonial blue or classic barn red.
- Douglas Fir: A little tougher than pine and more affordable than cedar. It has a warm, rustic tone and works well with stains.
If you’re placing your planter in a spot with a lot of rain or snow, go with cedar. Pine works just fine if it’ll mostly live under a covered porch, and you love to paint or customize.
Tools & Materials You’ll Need
You don’t need a full workshop to make this happen—just a few trusty basics:
- Wood (cedar or pine, a great porch-friendly choice)
- A saw (a hand saw or circular saw will do)
- Wood screws
- Drill
- Wood glue (optional)
- Sandpaper
- Outdoor-safe paint or stain (optional)
- Liner or landscape fabric (to keep soil in place)
Want to go the heirloom route? For this project, we used tools from Garrett Wade (affiliate), which are worth every penny for quality and charm.
What Should You Line a Planter Box With?
Lining your DIY planter box helps extend its life and keeps soil where it belongs. The best material depends on what you’re planting and how long you want your box to last.
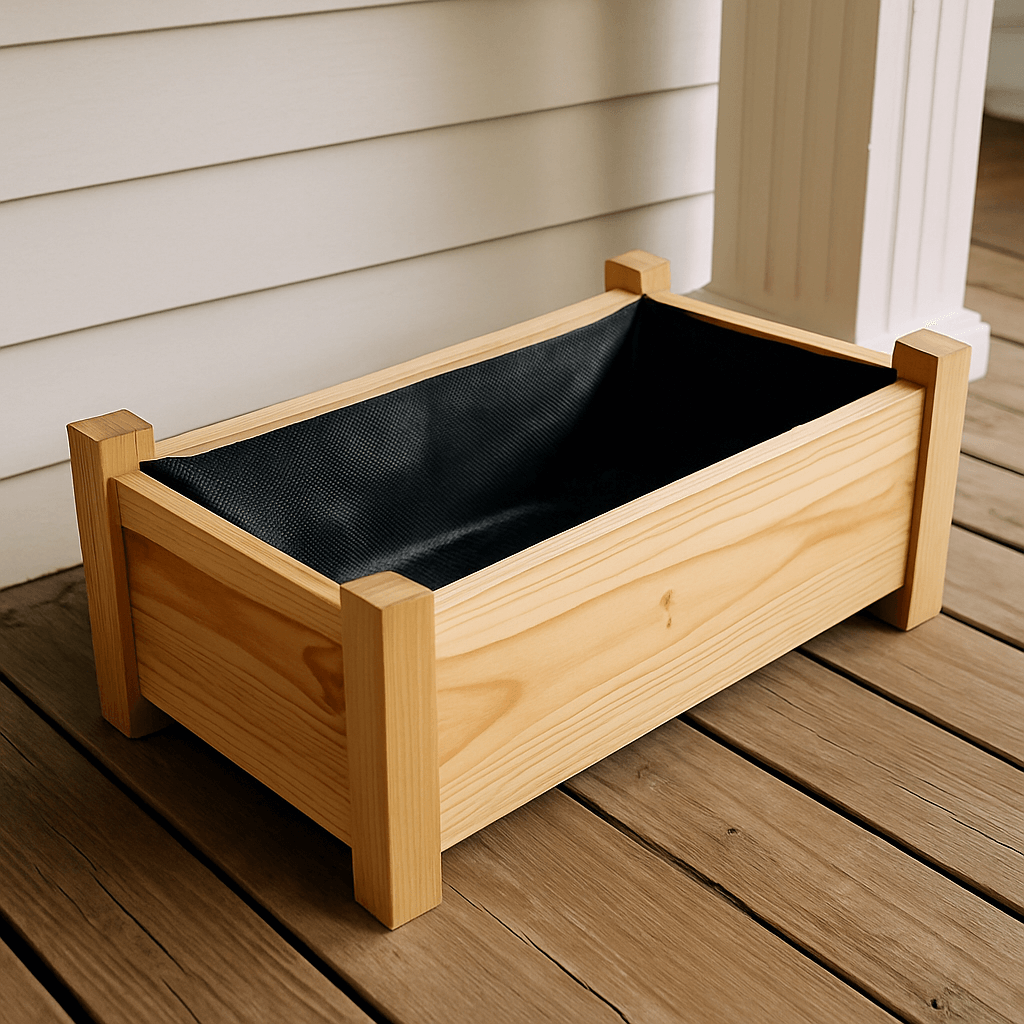
- Landscape fabric is the most popular choice. It allows for drainage while keeping the soil contained, and it’s easy to staple in.
- Plastic sheeting (with holes poked in it) works well for moisture retention but can trap too much water if not ventilated.
- Coconut fiber liners give a natural, breathable option that’s especially good for herbs and flowers.
- Old burlap sacks offer a rustic, eco-friendly touch—great for an Americana-style garden vibe.
Just make sure whatever you choose allows for drainage, or add a few small holes in the bottom to help water escape.
How Deep Should a Planter Box Be?
This one’s a bit like asking how big your porch pie should be—it depends what you’re planting.
If you’re filling your box with shallow-rooted flowers like pansies, petunias, or daffodils, 8–10 inches deep will do just fine. But if you’re hoping to grow herbs, root veggies, or something with a little more oomph (like hydrangeas or small shrubs), aim for 12–18 inches to give the roots room to stretch.
Here’s a quick cheat sheet to keep in your back pocket:
- Annuals & small flowers: 8–10 inches
- Herbs & compact veggies (like lettuce): 10–12 inches
- Root crops & larger flowers (like tulips or kale): 12–18 inches
And if you’re just decorating with pots placed inside your box? No need to worry too much—just make sure it hides the container and looks good from the porch.
The beauty of DIY is that you can build to suit. Go deeper if you’ve got the space—or shallower if you’re after that sweet, simple seasonal look.

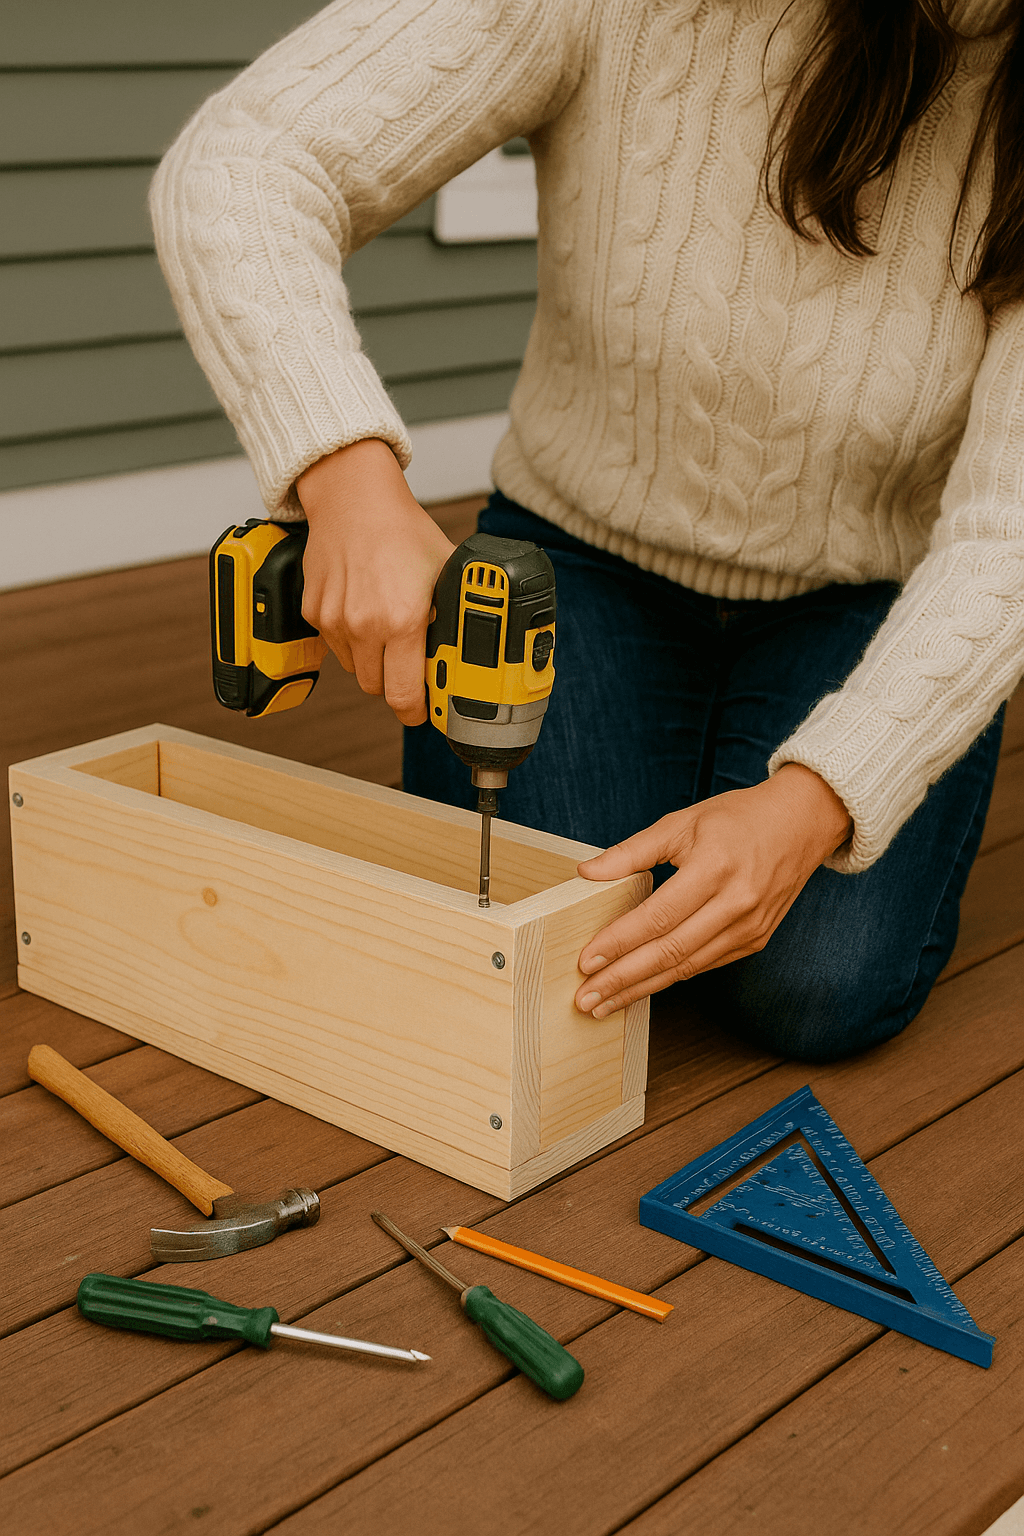
Step-by-Step: How to Build Your DIY Planter Box
- Cut your boards to size. For a standard rectangular box:
- 2 side panels: 24” x 6”
- 2 end panels: 10” x 6”
- Base: 24” x 10”
- Assemble the sides using wood glue (if using) and screws. Start with the end panels, then attach the longer side pieces.
- Attach the base from underneath using screws for a snug fit.
- Sand everything down to smooth out edges and prevent splinters.
- Stain or paint your box in whatever finish fits your porch. We love a weathered whitewash for a coastal feel or deep navy for that Americana pop.
- Line it with landscape fabric or a plastic liner (poke drainage holes!) and fill with soil and your favorite flowers.
Porch Styling Ideas with Your Planter Box
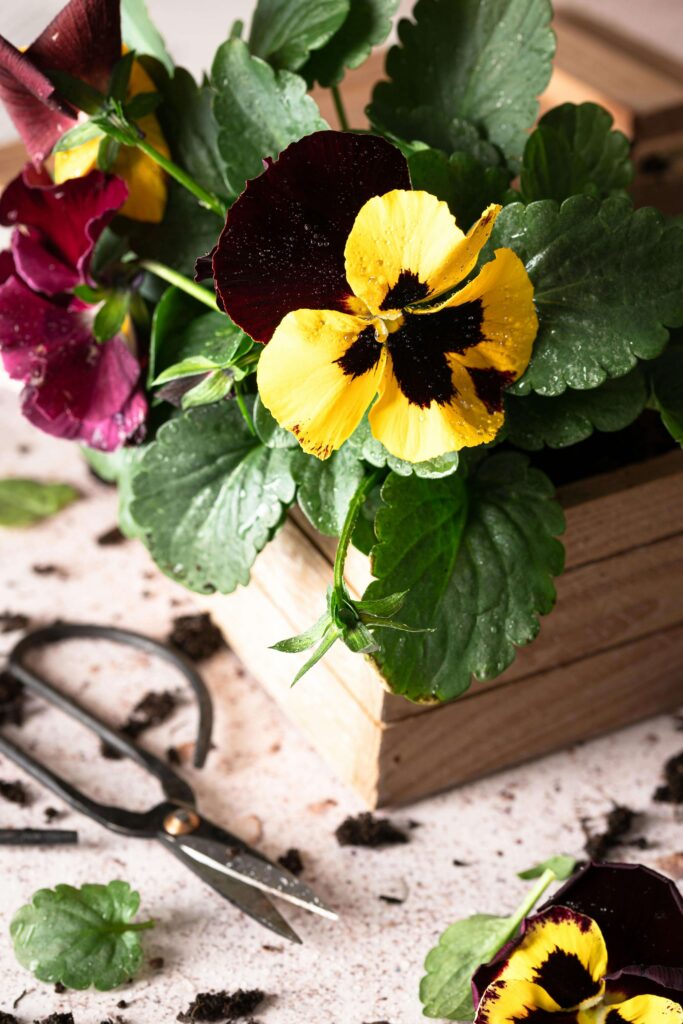
- Fill it with red geraniums and white petunias for summer.
- Add mini evergreen trees with twinkle lights in winter.
- Try dried herbs and lavender for a twist.
Bonus: It makes a great gift, too. Add a few seed packets and wrap them in burlap for the ultimate “slow living” gesture.
Do You Need to Waterproof a Wooden Planter Box?
Let’s discuss a question that always arises when working on porch projects: “Do I need to waterproof the inside of this thing?”
Short answer? Maybe.
If your planter box will live out in the elements—getting rained on, snowed on, or just soaking up moisture from the ground—then yep, giving it a little waterproof protection is a smart move. But if it’s tucked under a covered porch or you’re just popping potted plants inside, you can probably skip it.
If You Do Want to Waterproof It (Here’s How)
No need to overthink it. Here’s the easy way we do it:
- Grab a heavy-duty plastic bag or liner (even a contractor garbage bag works), and staple it inside the box.
- Drill a few drainage holes through the bottom so water doesn’t pool.
- If you’ve got one, brush on a non-toxic wood sealer or a garden-safe polyurethane—especially if you’ll be planting directly in the soil.
- You can also set your box on a couple of bricks or cedar scraps to prevent it from sinking into water.
That’s it. Just enough to help your hard work last through the seasons.
Honestly, we’ve done both—lined some, skipped others. It depends on where they’re going, how they’ll be used, and whether you enjoy giving extra care to your tools and wood. Either way? Your porch will look lovely.
Tips to Keep It Looking Great Year-Round
- Bring indoors during heavy snow or rain unless fully weatherproofed.
- Re-seal or repaint once a year.
- Drill a few extra holes underneath for drainage if you’ll use it outdoors all season.
Want more slow porch DIYs and cozy garden ideas? Subscribe to Applewood Way below and deliver your next weekend project straight to your inbox.